
How to Fix Missing NVIDIA Control Panel
With every new Windows 10 update, there always seem to be some of the previous issues fixed along with coming up with new bugs and errors. One such issue includes the user having an NVIDIA graphics card installed unable to find the NVIDIA control panel.
Table of Contents
The NVIDIA control panel tends to be missing from both the desktop context menu as well as from the Windows Control Panel. But, there’s no need to worry, as this problem is pretty common and fixable.
The idea behind this article is to make you aware of the various ways in which you can fix the NVIDIA control panel missing issue. That being said, without any further delay, let’s jump into the article.
What Exactly is the NVIDIA Control Panel Missing Error?
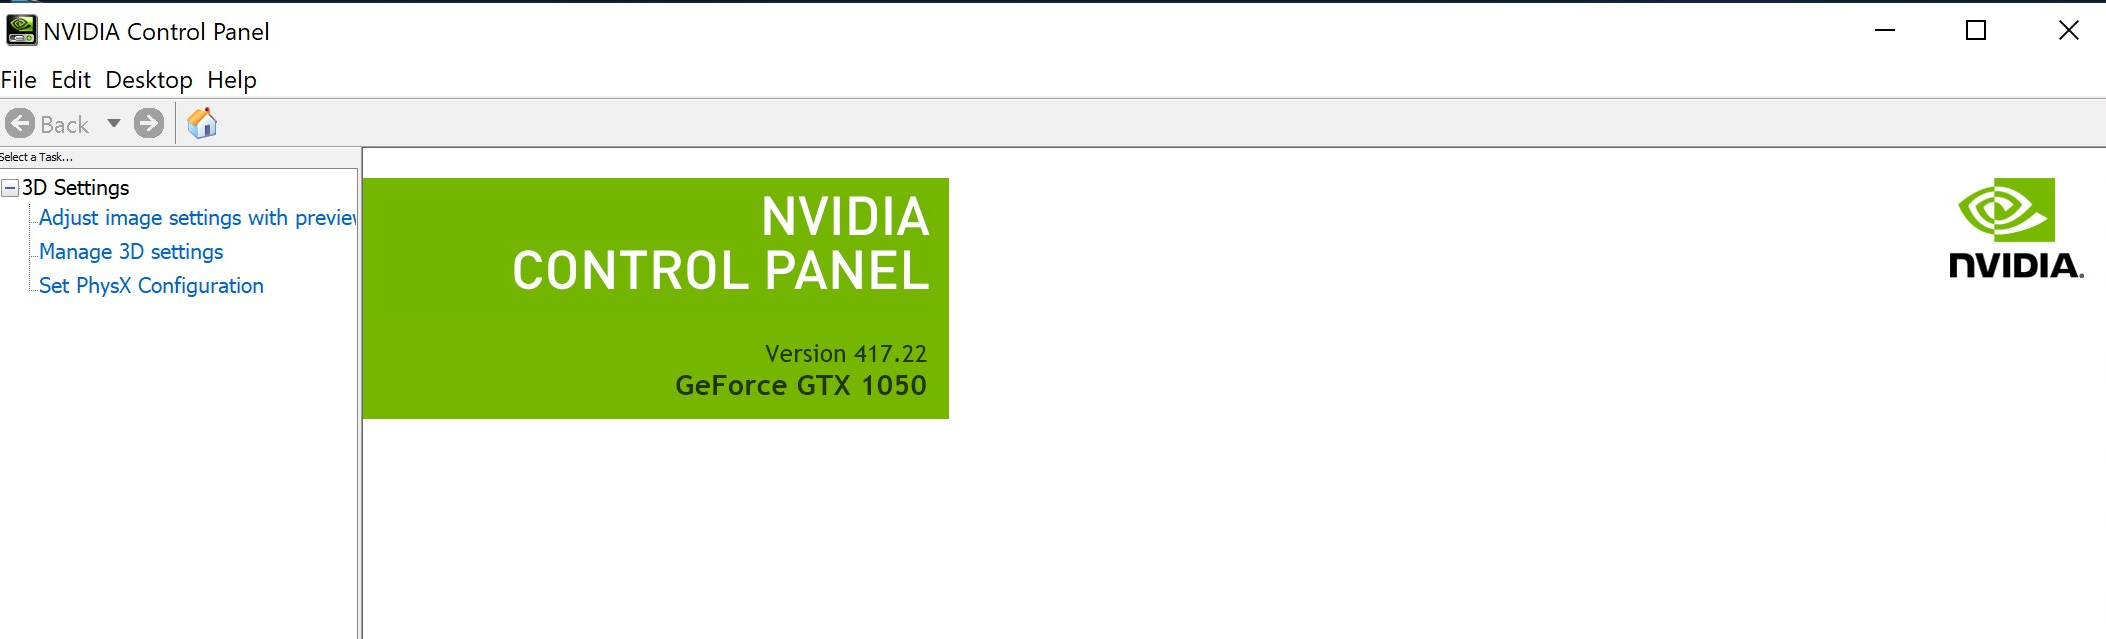
With an NVIDIA graphics card installed on the PC, users can tweak the graphics settings according to their liking. The NVIDIA control panel lets the user make these changes from their computer.
With the missing error, as the name suggests, the NVIDIA control panel cannot be found anywhere on the computer this may not cause an issue for casual users, as the graphics card tends to work just fine.
But especially for hardcore gamers, it can wreak some serious problems.
Before diving into figuring out the probable solution, it is very important to understand what actually causes such missing errors.
Cause for NVIDIA Control Panel Missing Error
One of the most significant reasons why this error in the first place is due to Windows Security updates. With the majority of the Windows Security Updates, chances are it might remove some of the third-party drivers that are installed on the Operating System.
There are also several reports that the particle issue is mainly associated with the crashed OS and video freezes. There could also be some other factors playing, which are mostly unknown.
But whatever be the reason, the fix is very simple, and it can be easily done within a matter of minutes.
Also See: How To Fix The Remote Device Or Resource Won’t Accept The Connection Issue
Fixing NVIDIA Control Panel Missing Error
Now, is the time to dive right into the article. So, if you are having the NVIDIA control panel missing issue, makes sure to follow the different ways in which you can fix the error.
Further including, while going through the troubleshooting process, whenever you find the control panel back again, make sure to stop right away. Once you get everything right, you are good to go.
1) Uninstalling and Reinstalling the Driver
This is as easier as it can ever get. For the majority of the time, just by simply uninstalling the driver and reinstalling it back again can fix the entire problem.
So, without getting into the difficult steps, make sure to follow this one. Chances are you might not even need to proceed further.
STEP 1
Press the Windows + X key to open the device manager. When the list appears, make sure to select Device Manager.
STEP 2
From the list of the drivers in the Device Manager, make sure to expand the Display Adapters. There you will find the NVIDIA Graphics Card Driver. Select it and uninstall the driver.
STEP 3
Once the driver is completely uninstalled, make use to reboot the computer and get along with the installation process.
Head over to the NVIDIA Drivers download page and select your graphics card. Once you download the same, install the driver, and you will see the Control Panel popping up again.
2) Reinstall the NVIDIA Control Panel from the Windows Store
There are several instances where downloading the driver from the website might not work.
Why do you ask?
Even we don’t know the reason.
But even after successfully completing step 1, the Control Panel doesn’t show up; chances are you need to resort to installing the driver from the Windows Store.
STEP 1
Make sure to completely uninstall the NVIDIA graphics driver from the computer as stated in the earlier process. Once that is done, give a quick reboot to your system to remove some of the temporary files associated with the driver.
STEP 2
Click on the start button and make sure to open the settings app.
STEP 3
Once you are in the settings menu, make sure to click on the Apps menu.
STEP 4
Click on the Apps and Features from the left side of the menu and search for NVIDIA Control Panel.
STEP 5
Once the installation link of the NVIDIA Control panel comes up, install it from the Microsoft Store.
3) Restarting the NVIDIA Services
Now if you are limited with your internet connection, this is probably the most suited option for you.
Sometimes when the NVIDIA Control Panel goes on missing from both the system tray and the desktop context menu, you can always restart the NVIDIA-specific services.
In order to restart these services, make sure to follow the steps below.
STEP 1
Press Windows + R button in order to open the Run box. Type services.msc from the box and hit enter.
STEP 2
This, in turn, will open the Services windows. In this application, you will find all the services that are running on your computer.
Within all these services look for the one that starts with NVIDIA. Make sure to select all the NVIDIA services and hit the Restart button. For all the services that are not running in the first place, click on the Start option.
STEP 3
Now, if you are left with Error 14109, which is Windows being unable to start the NVIDIA service, move on to the next one.
4) Manually Launching the NVIDIA Control Panel
If all the techniques mentioned so far don’t work on your behind, now is the time to consider launching the NVIDIA Control Panel manually.
There are several instances where you can manually override software to make them reappear on the operating system. That is exactly what we intend to do with the following process.
STEP 1
Make sure to open the My Computer folder and head over to the C drive. Within the folder, look for the folder Program Files.
With the same folder, you will find another folder whose name goes by NVIDIA Corporation. Sometimes you may not find the folder within the Program Files instead look for the same in the Program Files(x86).
STEP 2
Once you head over to the folder, open Control Panel Client and look for the file with the name nvcplui.
STEP 3
Right-click on the file and select the Run as administrator option. Once the program starts, your control panel will pop up again. Now, you can easily create a shortcut of that file on your Desktop to access it whenever you want.
5) Unhide the NVIDIA Control Panel
Sometimes if you can’t find the NVIDIA control panel, the chances are that it might be hidden. Now, this can generally happen if you update the graphics driver. In order to get back your NVIDIA Control Panel, make sure to follow these steps.
STEP 1
Press the Windows + R buttons and open the control panel. In the Run box, type the word control and hit enter.
STEP 2
When the Windows Control Panel option opens, view them in the large icon mode to look for the NVIDIA Control Panel.
STEP 3
There you will find the Desktop or View Option from which make sure to click on the Add Desktop Context Menu. You will find this option in the drop-down box.
Once you are done with the same, head over to your Windows Desktop and you will find the NVIDIA Control Panel back again in the Desktop Context Menu.
6) Force Start-Up NVIDA Control Panel
If all the above-mentioned techniques didn’t work for you, this is the last resort you can come up with.
Even if you fix the error from some of the other solutions, you might encounter an issue every once in a while. Follow these steps to get a permanent solution for the missing Control Panel.
STEP 1
Head over to my computer and make sure to follow the given folder path. (Program Files (x86) < NVIDIA Corporation < Display.NvContainer).
Now if you can’t find them in the x86 one, make sure to look in the regular Program Files folder.
STEP 2
Within the Display.NvContainer folder, you will find a file with the same name. Make sure to copy the file.
STEP 3
Head over to the Startup folder by typing shell: startup in the Run box.
STEP 4
Once you head over to the folder, paste the file have copied and give it an administrative privilege. You can do it by heading over to the properties tab.
Once you are done with it, restart your computer, and you will see the NVIDIA Control Panel.
Wrapping Up
The last two methods can be deemed as the ultimate solution for fixing the NVIDIA control panel missing error. But one should always start troubleshooting right from the beginning.
Further including, all the different ways in which you can fix the error are given as per their difficulty.
Even after trying all the above-mentioned fixes, you can’t find the control panel, make sure to raise a query on the NVIDIA Forum. In this way, you can figure out the problem that is causing your control panel missing issue.